Essential Tips for Flawless Hands, Nails, and Feet in Photography
Discover essential tips for preparing hands, nails, and feet for photography to ensure stunning images. Learn how to avoid common pitfalls and enhance your photos.
When preparing for a photo shoot, there’s a common moment that many photographers recognize. As we sift through the images, everything seems fine until one picture catches the eye—perfect lighting, expression, and posture—only for the client to remark, "Except for the hand." It's not the face or body that detracts from the image; it’s the hand, foot, or a nail with a chipped edge.
In short: Hands, nails, and feet are often the points that can turn an otherwise great photo into a disappointment. Because they are closer to the camera, they appear larger and sharper, making them difficult to retouch without looking unnatural. Spending just twenty minutes on preparation the night before can significantly reduce these issues.
This isn’t about beauty standards; it’s about optics. When lounging on a sofa with a hand resting on your face, that hand is often closer to the camera than your eyes. Everything nearer appears larger, so the decisions you make about your outfit need to extend to these often-overlooked areas.
The Challenge of Photographing Hands
Hands are the second most expressive body part after the face, and they convey honesty. Tension is immediately visible; when nervous, fingers may fidget—gripping fabric or intertwining, creating a claw-like appearance instead of a calm demeanor. This can alter the overall expression, even if the face appears relaxed.
Anatomically, hands look broad when photographed from above, while a side view gives a slimmer appearance. Therefore, during shoots, I often provide specific hand positioning instructions—not just vague prompts like “do something with your hands,” but rather “turn your hand so the side faces me, fingers slightly spread, as if you’ve just released something.”
I have detailed how I manage this in my micro-mechanics guide, which focuses on easing tension. The simplest method is to give your hands a task—whether it’s brushing back hair, adjusting straps, or holding fabric. A hand engaged in an activity tends to remain relaxed.
Nail Care: Short and Neat Over Long and Flashy
Nail trends peak during the summer, and I often see the results in my studio. After numerous shoots, I’ve come to a pragmatic conclusion: well-groomed nails are more important in photos than flashy ones.
What consistently works well are nails of medium length, with clean edges, and either a color close to the skin tone or a bold, solid hue. Issues that frequently compromise images include chipped edges, regrowth with dark polish, and overly intricate designs in intimate portraits. Nail art can draw attention away from your face, which is undesirable in beauty shots.
Timing is key: if you’re getting a manicure, schedule it two to three days before the shoot. Fresh polish can still be vulnerable the day before, and any irritation around the cuticles may take a day to settle. If your nails look poor on the day of the shoot, it’s better to remove the polish than to attempt a touch-up—bare, well-maintained nails always photograph well.
Jewelry Considerations: Rings and Their Impact
Rings often carry sentimental value, and I enjoy capturing them in photographs. However, we need to check two things beforehand: Does the ring leave an imprint if removed briefly? Such a mark can linger in the image. Also, is the setting facing outward? A twisted ring can appear unkempt in close-ups.
I’ve elaborated on which pieces of jewelry enhance an image and which create distractions in my guide on jewelry in photography. When choosing between metals, consider how gold or silver complements your skin tone—this difference is more pronounced on the hands due to thinner skin that reflects light directly.
I generally prefer to remove watches, as they introduce a harsh, technical element to a soft image and often leave an imprint on the wrist.
Feet: The Importance of Barefoot and the Lesser-Known Detail
In boudoir and sensual photography, I often shoot barefoot, as it softens the leg line. This means heels and toenails become prominent in the frame. A quick grooming session the day before—trimming nail edges, addressing calluses, and caring for the nail bed—is sufficient. Apply lotion the night before rather than the morning; freshly moisturized skin can appear shiny, and shine on the soles looks greasy in side lighting.
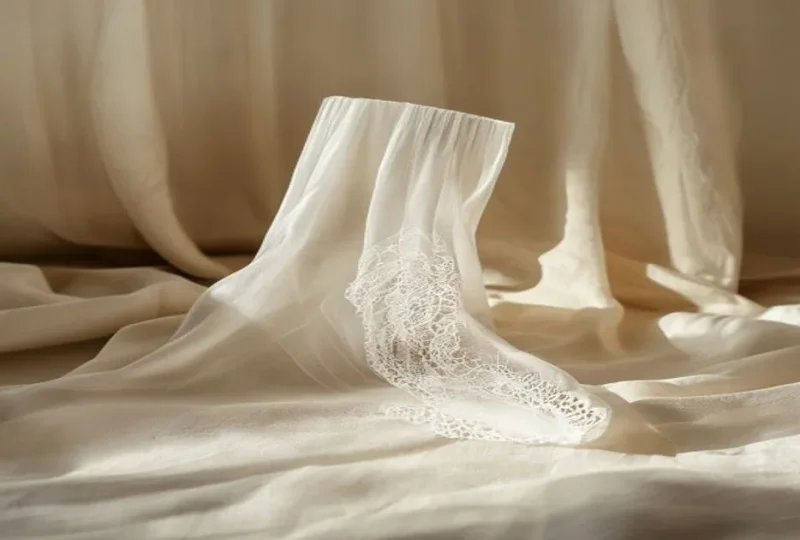
Here’s a detail that many overlook: reinforced toes. Many sheer tights are marketed for this reason—protection against runs—but they can be problematic in front of the camera. The reinforcement creates a dark block over the toes, which is invisible in shoes but glaring in detail shots.
Thus, my standard advice during shoots where feet are visible is to opt for tights without reinforcement or to choose hold-up stockings. For a deeper dive into how different styles of tights and stockings appear on camera, refer to my guide on this topic.
The Twenty-Minute Preparation Plan
It only takes twenty minutes to prepare, and here’s how:
- File nail edges on hands and feet, ensuring polish is either neat or completely removed.
- Push back cuticles instead of cutting them—cuts can become red and visible in photos.
- Moisturize hands and feet the night before, not in the morning.
- Select and try on rings to ensure they fit comfortably without digging in.
- Check tights for reinforced toes—if they have it, choose a different pair for the shoot.
This preparation is as important as everything else leading up to the shoot. I have outlined a complete evening preparation routine, and if you’re concerned about your skin’s condition, my insights on skin appearance during shoots and retouching can alleviate some worries.
What I Handle During the Shoot
You don’t need to memorize all this. I’ll be monitoring the extremities throughout the shoot—it’s second nature, much like adjusting a slipped strap. If a hand appears tense, I’ll assign it a task. If a foot is flat, I’ll ask you to stretch the top of the foot. If a ring is twisted, I’ll quickly point it out.
Most issues cannot be retouched convincingly—altering the shape of a hand is always noticeable. My approach is to minimize any temporary skin issues—a slight redness, a minor scratch, or a blemish. I won’t change your hand into a different hand.
Frequently Asked Questions
Do I need a manicure before a photo shoot?
No, it’s not necessary, but nails should be well-groomed: clean edges, tidy cuticles, and polish that is either intact or completely removed. If you’re getting a fresh manicure, schedule it two to three days in advance to allow time for any irritation to subside.
What nail color photographs best?
Colors that are either close to your skin tone or bold and solid work best. Both options remain understated in images. Intricate patterns and nail art can distract from your face—while they may be desirable in beauty portraits, they compete in intimate shots.
Why do my hands look so large in photos?
Because objects closer to the camera appear larger. If your hand is resting on your face, it’s often closer than your eyes. To counter this, turn your hand so the side faces the camera, which will make it appear slimmer than a direct overhead or frontal shot.
Are tights with reinforced toes suitable for shooting?
Only if the feet remain in shoes. The reinforcement prevents runs in everyday wear but appears as a dark block over the toes in photos. If your feet will be visible, choose tights without reinforcement or halter-top stockings.
Should I moisturize my hands and feet before the shoot?
Yes, but do it the night before, not in the morning. Freshly moisturized skin can look shiny, and shine on the back of your hands or soles can appear greasy in side lighting. Overnight, the lotion will absorb, leaving a soft, matte finish that looks great in photos.
Will hands and feet be retouched afterward?
Only for minor issues like a temporary redness, small scratch, or blemish. I won’t alter the shape of a hand or foot, as such changes are always visible in the final image. Twenty minutes of preparation the night before can eliminate the need for retouching.
Let’s Collaborate
I work in Olching, west of Munich, with a focus on creating a relaxed and respectful environment. We’ll discuss details like these beforehand so that you can focus solely on how you feel during the shoot. Feel free to check out a boudoir shoot in my studio or reach out for a personal response.