Relaxation Techniques for Effortless Photos: 7 Practical Tips
Discover seven effective techniques for feeling relaxed and capturing genuine moments in front of the camera. These practical tips help redirect attention and enhance your photoshoot experience.
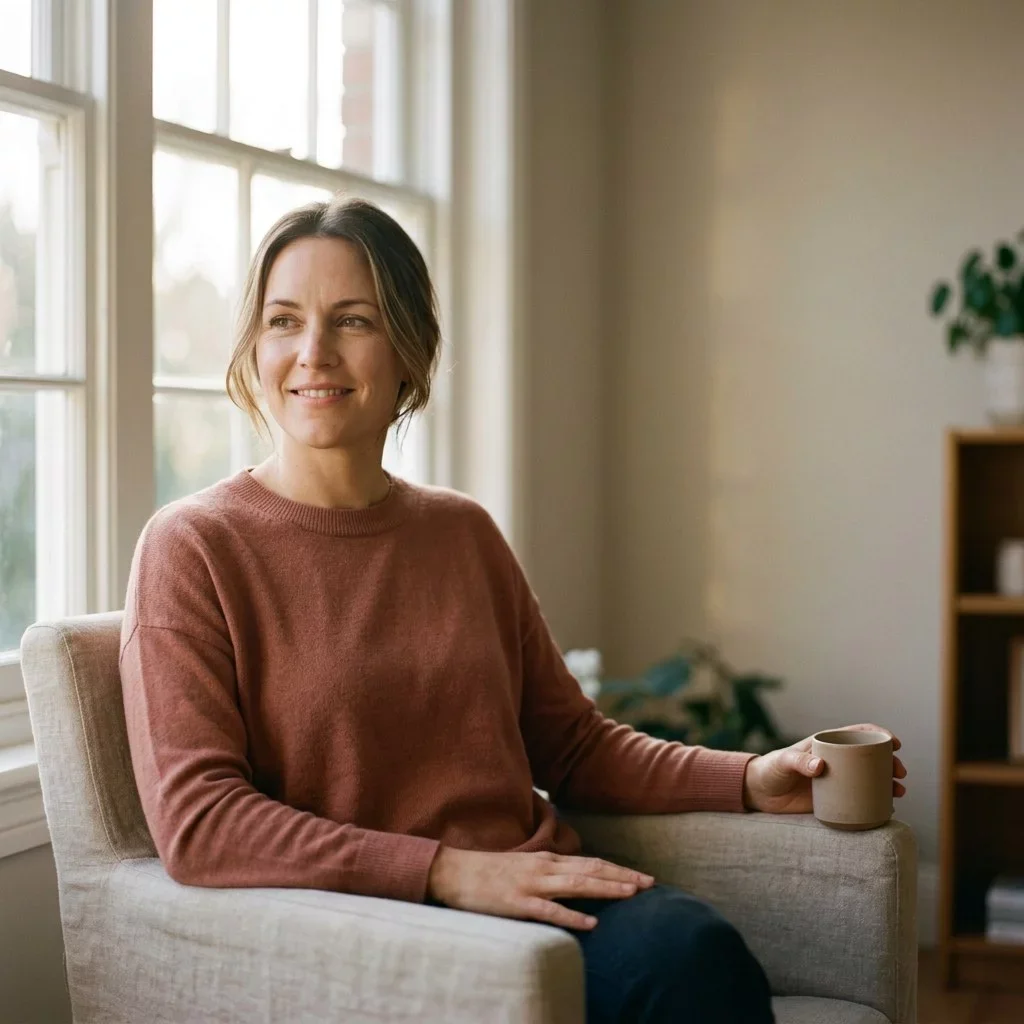
Note: The featured image is an AI-generated symbolic image.
Many of these techniques may already be familiar to you. I have compiled eight poses that work well for selfies and become even clearer in front of the camera.
Typically, the first ten minutes of a photoshoot can be quite tense. You stand there, I stand there, and the camera is set up, but no one knows how to begin. This is perfectly normal; few people feel at ease in front of a camera they are unfamiliar with. The issue arises when these initial moments are not actively managed—they can stretch to 25 minutes, consuming half of the shooting time before we even start capturing the actual images.
Through years of conducting around 200 photoshoots, I have distilled seven simple techniques that effectively break this initial tension. These are not posing secrets or coach jargon; they are concrete, repeatable tricks that you can learn on your own, even without booking a session with me. I apply these methods daily in Olching, West Munich, and the Augsburg area, particularly with women who are stepping in front of a professional camera for the first time.
Why "Relax" Is the Wrong Phrase
Before diving into the seven techniques, it’s important to understand a key point: telling someone to “relax” is ineffective. Just like saying “go to sleep” doesn’t work, relaxation cannot be commanded—it is a byproduct of engaging in a specific task that isn’t about “performing.”
All seven techniques below share a common goal: they provide you with something to do rather than something to perform. This shift allows your body to follow suit, usually within the first 15 to 20 minutes.
Technique 1 — Movement Tasks Instead of Pose Instructions
Telling someone to “stand still and look at the camera” often results in tense shoulders. In contrast, asking them to “walk slowly around the chair without smiling” produces genuine images.
The difference lies in where your focus is directed. In the first scenario, you are preoccupied with your appearance, while in the second, you are focused on your movement around the chair, allowing your body to act naturally but with more awareness. The resulting images capture you authentically, rather than a staged version of yourself.
Common movement tasks I use include: walking to the window and looking outside, sitting on the bed with a book, slowly turning your head from side to side, leaning against a wall and relaxing your shoulders, or sitting down and then standing up from a chair. These may sound trivial, but they aren’t.
Technique 2 — Micro-Choreographies in Three Steps
When static poses are necessary, I break them down into a sequence of three small movements. For example: move your hand to your hair, then to your shoulder, and let it drop. This takes three seconds and involves three steps, avoiding a static pose.
This method works because you focus on the sequence rather than the final image. I capture the moment not at the final pose, but between the second and third steps—when your hand is moving and your shoulder is lowering, and your expression isn’t yet “finished.” These are the moments that resonate in the final images.
Other examples include: pulling a robe over your shoulder, holding it, then letting it fall; closing your eyes, exhaling, and then opening them; smiling, thinking, and then becoming serious. Three steps seem to be the magic number—two is too short, while four feels overly choreographed.
Technique 3 — Breath Control with Specific Counts
The instruction to “breathe deeply” is vague and often unhelpful. Instead, saying “inhale for three seconds, exhale for five” is immediately actionable. Concrete numbers provide an anchor, while vague instructions lead to confusion.
I frequently use this breathing sequence between setups, especially when I notice tense shoulders. You inhale through your nose for three seconds, hold briefly, and then exhale through your mouth for five seconds. Usually, one round is sufficient, but you can repeat it up to three times.
The key point is that a longer exhalation than inhalation activates the parasympathetic nervous system—the part responsible for relaxation. This isn’t just yoga jargon; it’s basic physiology. Three breaths in this ratio can measurably lower your heart rate.
Technique 4 — Anchor Gaze Instead of Camera Stare
When your eyes are uncertain, the entire image appears insecure. The eyes are often the first indication to the photographer of whether you are present. It’s also challenging because they constantly seek information—“Is he joking about me?” “Do I look good?” “What’s my expression like right now?”
The solution is to focus on an anchor point in the room rather than the lens. I guide you to look at something specific—a curtain edge, a window cross, a candle on the table, or a doorknob. You softly fixate on that point (without staring), while I capture the image from a position slightly off to the side. In the final picture, it appears as if you are looking thoughtfully into the center of the room—relaxed and present, without performing.
Sometimes, I change the anchor during the setup. “Look at the window, then slowly to the door, then down to the floor.” This introduces natural variation into the series of images without requiring you to think about it.
Technique 5 — 10-Second Silence
The common approach during a shoot is to keep talking to prevent the subject from feeling observed. However, this often backfires; many women find constant chatter to be an added pressure, requiring them to smile at jokes.
I frequently do the opposite. Between setups, I embrace 10 to 15 seconds of complete silence. I adjust the camera while you sit by the window, and no one speaks. Initially, this might feel awkward, but after three seconds, it can be liberating. You breathe, look outside, and stop thinking about the camera.
The first images captured after such a moment of silence are often the calmest of the entire session. You emerge not from a sequence of “funny anecdote → forced laugh → pose,” but from genuine tranquility.
Technique 6 — Out-of-Frame Triggers
Genuine micro-reactions cannot be staged. A forced laugh is detectable from a distance. What works is setting a small trigger that elicits a real reaction, capturing the moment of that reaction.
Examples include sharing a mini-anecdote from our prior conversation (“So, you lived in Italy…”), saying something slightly provocative that makes you think (“If you had to describe yourself in two words…”), or asking a personal question with an unexpected detail.
What you do in response isn’t performed—you genuinely consider, perhaps smile, or become serious. That’s the moment for the photo. The crucial point is that the trigger must resonate with you. For instance, confronting a reserved woman with a bold statement is inappropriate and intrusive.
Technique 7 — Setup Change as a Reset
After 20 to 25 minutes in the same location, energy tends to dwindle. Regardless of how well the images are going, fatigue sets in—both you and I know the pose, and we begin to repeat ourselves.
Before this happens, I actively change the setup. This may involve a different room, outfit, lighting, or image concept—ideally all three. The change itself serves as a break; you move, change clothes, get some water, and I rearrange the camera. Three minutes of movement instead of three minutes of “let’s take a break,” which many perceive as losing control.
In a typical two-hour shoot, I usually have three to four setups. For three hours, it’s more like five to six. Any more than that tends to be excessive—you need at least 15 to 20 minutes per setup to get into the flow.
Common Thread Among These Techniques
Looking at the list again—movement tasks, micro-choreographies, specific breathing counts, anchor gaze, 10-second silence, out-of-frame triggers, setup change—the common denominator is not “relaxation technique” but rather “redirected attention.”
All seven techniques relieve you of the task of “looking good” and replace it with a simpler task. Walk to the window. Breathe three to five. Look at the curtain edge. Be silent for ten seconds. Think about Italy. Change rooms. While your mind engages in these small tasks, your body naturally relaxes, and the images capture that.
This is also why women with prior experience can sometimes be more challenging to photograph than beginners. Those who have stood in front of the camera a few times often develop a repertoire of “posing habits”—hand on the hip, leg forward, head tilted slightly. These are poses commonly seen in Instagram tutorials. They aren’t wrong, but they represent the default performance mode. The seven techniques effectively dismantle this mode.
What You Can Do
When you book a session with me or another photographer, you don’t need to actively apply these techniques—that’s the photographer’s role. However, there are two things you can prepare:
First: If you find the instructions during a shoot too generic (“just be yourself,” “do what you want”), ask for specific movement tasks. A good photographer will have them. Those who don’t often lack direction.
Second: If you realize you’re stuck in a posing habit, request a 10-second silence. Sit down, look out the window, and say nothing for fifteen seconds. You’ll be surprised by what happens next.
A Specific Anecdote
About a year ago, I had a boudoir shoot in Eichenau. The client, in her mid-30s, arrived with a stack of Pinterest references—all highly staged poses typical of boudoir editorial. During the first 20 minutes, she methodically worked through her poses like a checklist. While the images were technically fine, they looked like they belonged in a catalog.
After the second setup change, I put away the Pinterest list and told her, “Forget the poses for 15 minutes. Sit on the bed, look out the window, and say nothing.” She looked at me as if I had asked if she liked math. Then she complied. Three minutes later, the first images emerged, which later became her favorites. None of them were on Pinterest.
Frequently Asked Questions
How should I stand during a photoshoot?
Don’t just stand. A good photographer will give you movement tasks, not pose instructions. Walking to the window, sitting on a chair, or moving your hand from your hair to your shoulder will yield images with a natural body posture. Static standing often results in tense shoulders.
What should I do if I get red or sweaty in front of the camera?
Three deep breaths with a ratio of three seconds in and five seconds out can significantly lower your heart rate. Additionally, focus on an anchor point instead of the camera—look at a spot in the room, not the lens. Both techniques reduce tension in 30 to 60 seconds.
Where should I look if not at the camera?
Focus on an anchor point in the room—like the edge of a curtain, a window cross, a lamp on the table, or a doorknob. In the final image, it will appear as if you are thoughtfully gazing into the center of the room. It’s important to fixate softly, not stare rigidly. During some setups, I change the anchor point to introduce variation.
How long does it take to feel relaxed in front of the camera?
In a good session, it typically takes 15 to 20 minutes—assuming the photographer employs active relaxation techniques (movement tasks, breathing counts, silence pauses). With generic instructions like “just be yourself,” it can take 40 minutes or more. This is why I never schedule boudoir or nude shoots for less than two hours—the first 20 minutes are for warming up.
Should I prepare in any way before the shoot?
Get a good night's sleep, eat normally, avoid alcohol the night before, and stay hydrated on the morning of the shoot. Practicing poses in front of a mirror is not helpful—it intensifies the performance mode. More on how to prepare for a photoshoot can be found in my guidelines.
When you're ready
These seven techniques are not a secret method. Any reasonably experienced female photographer will have variations of these techniques in their toolkit.